Monday, November 13, 2017

Yang Xiao Long's Ember Celica bracelets

Hello again!

Today's tutorial is for Yang Xiao Long's Ember Celica Bracelets.


I've seen several tutorials for these in their weapon form, but none for their compact bracelet form.

Now, most people that made props out of EVA foam use thick sheets of foam, at least 6mm thick. However, I found that more difficult to find. The way I make my Ember Celica, both the full version and the bracelets, is by doing multiple layers of thinner foam, about 2mm. It is less expensive and much easier to find. The kind I use is .99 cents a sheet.

Supplies:

  • 3 12x18 inch sheets of yellow foam
  • masking tape
  • black paint
  • paint brush
  • white glue

The first step is to measure your wrist to see what size you need. These slide off and on over your hand, so make sure to account for that size as well.

Once you know what size you need, you can start measuring your foam. The ones I'm making for this tutorial are for a wrist size of 8 inches. You need to measure that out on the sheet of foam. The wrist band is 1 & 7/8 inches by 8 inches. I always make the thickness of the band 1 & 7/8 inches, but you can adjust it if you'd like.

Now, since we're layering the strips of foam, you'll need to account for the size for each additional layer. I add 3/8 of an inch to each layer. Meaning, if the innermost layer (the layer that will rest on your wrist) is 8 inches, the next is 8 & 3/8 inches, then 8 & ¾ inches, and the last is 9 & 1/8 inches. The wrist bands are 4 layers in total.


Take the shortest strip and tape the ends together like this:


Then, take the next layer and glue it around the first strip. Let the glue dry for at least an hour. Do this for each additional layer until you have your band that is four layers thick. Make 2, one for each wrist.

While your waiting for the glue to dry, you can start on the top piece for the bracelets.


Trace this onto your foam, again, I do this in layers. You'll need four pieces per bracelet. Eight total.


Get the template HERE.


Now, as you glue these layers together, you'll want to make them curve to fit onto the bands. I use poster tubes to achieve this. However, you can use anything that is cylindrical such as a 2 liter bottle.


Again, let each layer dry for an hour.

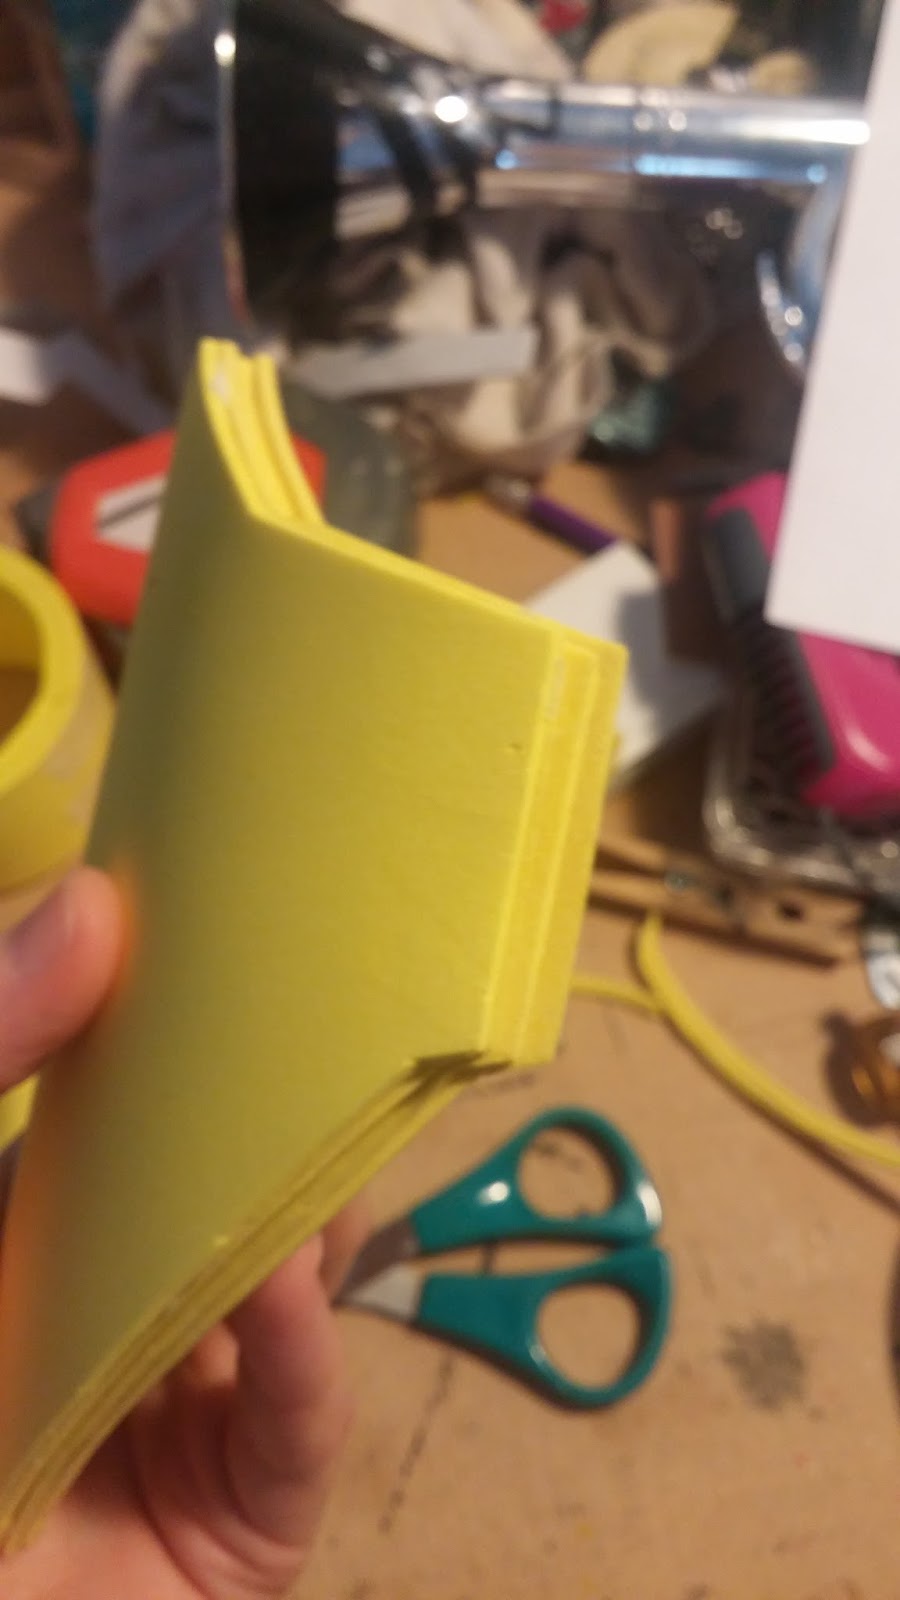
With this piece, we don't account for the size difference between layers before hand, so you'll need to trim the excess off afterwards. You can trim it off with scissors.


Once your band and top piece are constructed and dry, you can glue them together like so:


I allow this piece to dry overnight.

The last piece you'll need to cut out is the detail to the bottom of the bracelets. Now, the length of these will be dependent of the size of your bracelets. Just measure the bottom from the ends of the top piece like so:


The ones on these are 5 & ½ inches long. The are 1 & ½ inches tall, regardless of length. The ends are ½ inch on each side.


This part has two layers. Measure again after gluing the first layer in place to get the length of the second layer.

After you've assembled all the pieces, you just need to paint the detail. You can use black acrylic paint or a black paint pen. I've used both. You'll need two coats whichever you choose.

Finished product:


I hope you enjoyed this tutorial. Let me know what you think, or if you have any questions.


If you'd prefer, you can purchase them in my Etsy shop HERE.

Thursday, September 28, 2017

My Chemical Romance Killjoys Masks

Okay, this next tutorial which goes along with the Killjoys ray guns, if super easy and cheap. It's for the masks wore by the Killjoys.

Supplies:
  • White plastic half mask
  • Spray paint
  • Acrylic paint
  • Clear acrylic sealant
  • Paint brush


First step is to spray paint your mask in the color of your choice (make sure you take the elastic string off first so you don't paint it.) Again, you can make it similar to ones worn by the Killjoys, or you can get creative and design your own. For this tutorial I will be making Party Poison's. It'll take 1-2 coats.


Next, time to paint the detail. For Party Poison, you'll need black and light blue acrylic paint. I do three coats for best coverage.


Then, time to seal it. Use your clear acrylic sealant, 1-2 coats.


Lastly, tie the elastic string back on, and you're done!

Finished product.


You can purchase them HERE.

Thursday, September 21, 2017

SAVE 10% in my Etsy shop!


My Chemical Romance Killjoys Ray Guns

My first tutorial is for the ray guns from the My Chemical Romance Danger Days videos. I'll start off by saying that I got the templates for these from another site (Crafting Like A Sir). They never posted their tutorial, only the templates. So I figured I would post one. I tweaked their template a little to be more to my liking. I prefer things that can be made relatively inexpensively. So, no molds/resin are required.

Supplies:
  • ½ inch sheet of MDF wood (you can also layer pieces of cardboard or foam board if MDF is out of your price range.)
  • 1 12”x18” piece of craft foam
  • 4 sheets of paper or card stock (to print template)
  • White glue
  • Spray paint
  • Acrylic paint
  • Clear acrylic sealant

Tools:
  • Jigsaw
  • Rotary sander
  • Pen knife
  • Scissors
  • Drill with 1” bit
  • Paint brush

The first step is to print out your template. You then need to cut it out. I used a pen knife to cut it out so I had a stencil, but you can use scissors to cut out the pieces to trace around. You can get the original templates HERE, or save the my edited ones below.


Once you have your template cut out, trace the gun base onto your MDF (or whichever material you choose.) Use your drill to make the hole from the trigger, then cut out the base of the gun using your jigsaw. I then use a rotary sander to smooth out any rough edges. You can use scissors or a pen knife if your base is made of cardboard or foam board.


Next, trace the rest of the templates onto your craft foam. If you will be painting your gun a lighter color ( like yellow) make sure to use a light colored foam. I made the mistake of using green foam the first time I made one of these because it was all I had, and it took several extra coats of paint to cover it.) Make sure you trace two sets of them, one for each side of the gun. Then cut them out using your scissors. To make the trigger a little more durable, I cut it out of cardboard, then glue the foam onto it.


Follow this template to glue the pieces onto your gun base.


I allow the glue to set overnight, However, you can proceed to the next step after about an hour.

Next, spray paint your gun in the color of your choice. You can paint them to look like the ones in the video, or make your own design. Use your creativity.

For this tutorial, I'm making one like Party Poison's, so I'll be painting the base yellow. Depending on the type of spray paint you buy, you may need to do a coat of primer first. I use Krylon Colormaster, which is a paint and primer in one (except for the green of Fun Ghoul's. I use Krylon Flourescent and I do use a primer with that.) Do 2-3 coats of paint.

Once the spray paint is dry (about an hour), you can start painting the detail on the gun. For Party Poison, you need black and red acrylic paint. Do the black markings first, at least two coats, then do the red. Make sure to do both sides. If you are making one like the ones in the video, you can print out the logo on the gun handle and glue it on. After gluing it in place, I spread a layer of glue on top of it too to seal it.


Last step, top coat sealant. I use Mod Podge gloss, clear acrylic sealer spray. Do 1-2 coats of this and you're done!

Here is the finished product.


I have made each of the guns from the video. All of which are for sale in my Etsy shop HERE.

Here are the other logos:


Okay, I hope this tutorial was helpful. Let me know what your like me to do next, and be sure to check out my shop for more props!


Introduction

Hi! My name is Crystal and I make cosplay props. I've been making them for about two years now. I started making props when my niece and nephew wanted RWBY props for their Halloween costumes a couple of years ago. I made Ruby Rose's Crescent Rose and Yang Xiao Long's Ember Celica.


Since then, I've made the rest of team RWBY's weapons, as well as some Wonder Woman, My Chemical Romance, and Warehouse 13 props.

My focus is cosplay on a budget. I know what it's like not to be able to afford good props for your cosplay. I want to make them more accessible.

I'll be using this blog to post tutorials and work-in-progress posts for the various props I've made. My first tutorial should be posted in a day or so.

Apart from prop making, I also enjoy crocheting, fitness, I dabble in photography, and have recently gotten into drawing.

I have a shop on Etsy called Inspired By Fandom. Everything I post tutorials for here will be for sale on my shop if you'd rather buy one than make it yourself. You can check it out HERE.